Android zxing

二维码一般在项目都会用到,今天分享下我开发二维码的一些心得。

zxing介绍

github地址:https://github.com/zxing/zxing
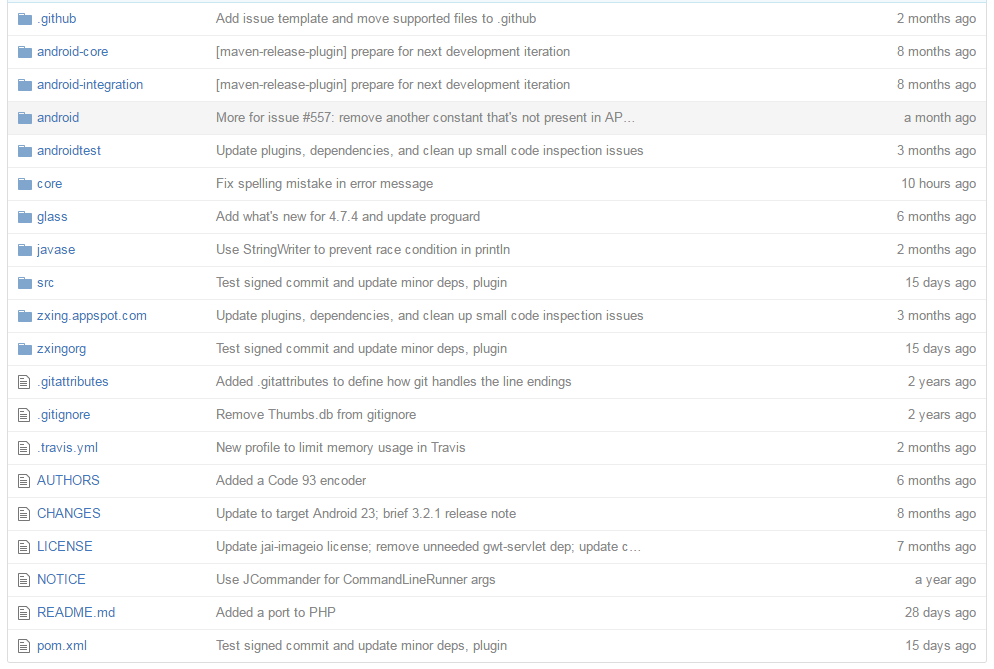

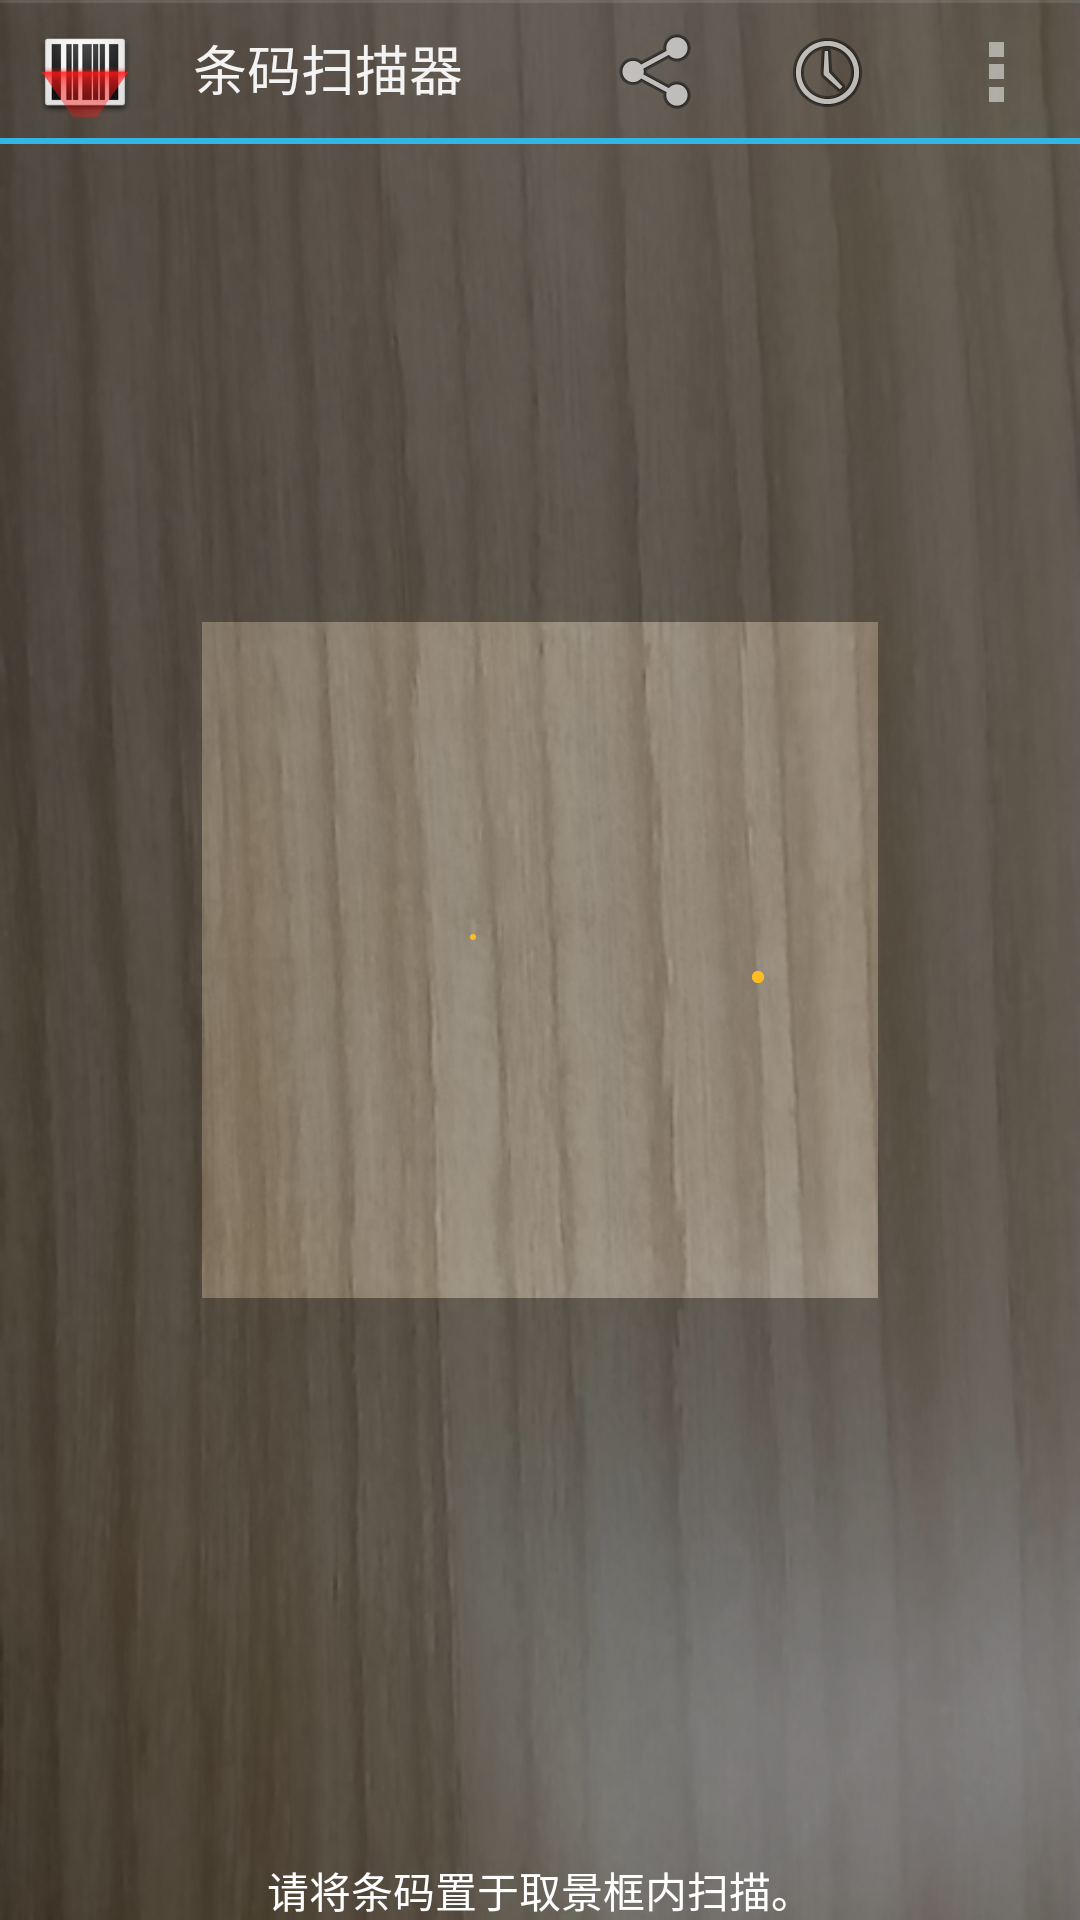
代码很多,官方演示的例子在文件android,一个较为完整的app,导入Android studio,发现少了CameraConfigurationUtils,这个类在文件android-core下。官方效果图:
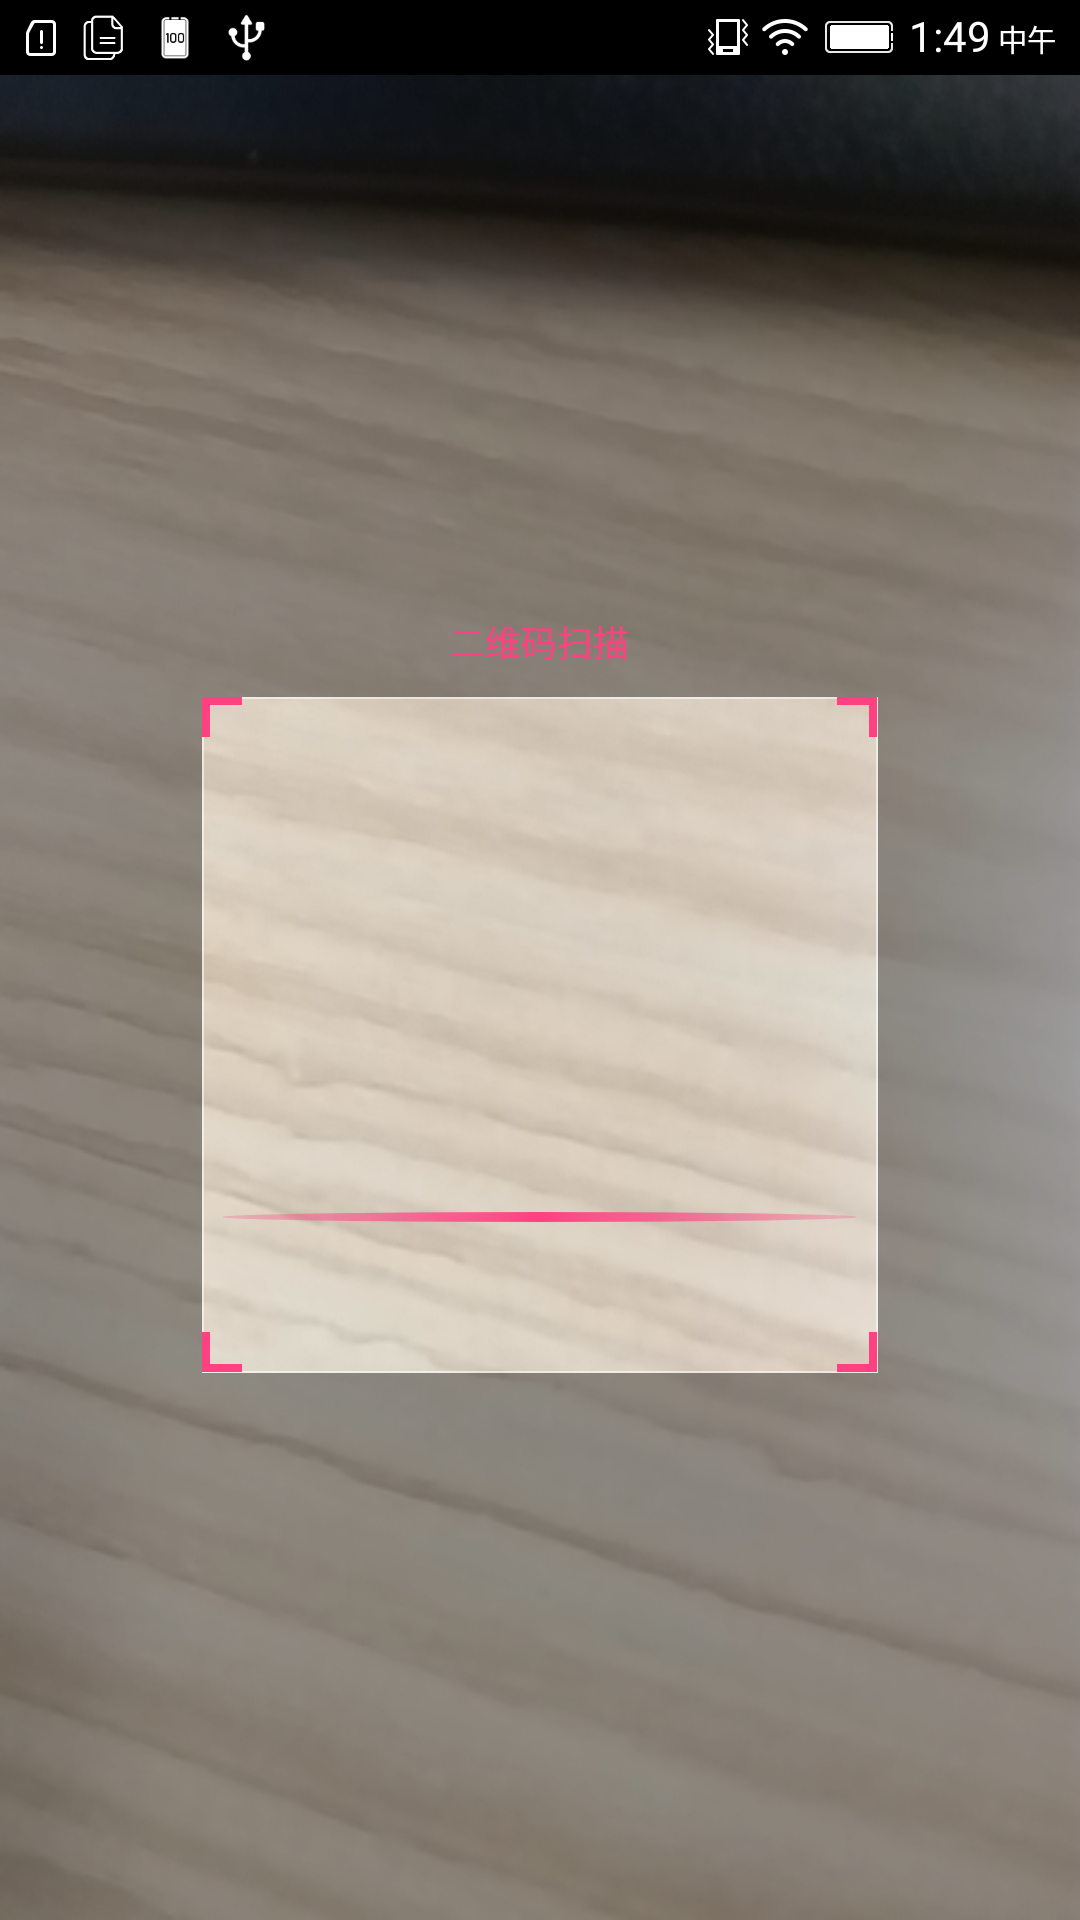
但是实际开发只需要扫码和生成二维码两个功能就夠了,因此我做了抽离删减,最终我的效果图:
zxing使用

添加依赖

1
compile 'com.google.zxing:core:3.2.1'

扫描二维码

1
2
3
4
case R.id.qrcode_dencode: //扫描
intent = new Intent(MainActivity.this, CaptureActivity.class);
startActivityForResult(intent, REQUEST_CODE);
break;

回调:

1
2
3
4
5
6
7
8
9
@Override
protected void onActivityResult(int requestCode, int resultCode, Intent data) {
super.onActivityResult(requestCode, resultCode, data);
if (resultCode == RESULT_OK) { //RESULT_OK = -1
Bundle bundle = data.getExtras();
String scanResult = bundle.getString("result");
Toast.makeText(MainActivity.this, scanResult, Toast.LENGTH_LONG).show();
}
}

生成二维码

1
2
3
4
5
6
7
8
9
case R.id.qrcode_encode: //生成
try {
Bitmap mBitmap = QRCodeEncoder.encodeAsBitmap("http://wuxiaolong.me/", 300);
qrcodeImg.setImageBitmap(mBitmap);
} catch (Exception e) {
e.printStackTrace();
}
break;

识别二维码

1
2
3
4
5
6
7
8
9
10
11
//长按图片识别二维码
qrcodeImg.setOnLongClickListener(new View.OnLongClickListener() {
@Override
public boolean onLongClick(View v) {
qrcodeImg.setDrawingCacheEnabled(true);
Bitmap bitmap = Bitmap.createBitmap(qrcodeImg.getDrawingCache());
qrcodeImg.setDrawingCacheEnabled(false);
decodeQRCode(bitmap);
return true;
}
});
1
2
3
4
5
6
7
8
9
10
11
12
13
14
15
16
17
18
19
20
21
22
23
24
25
26
27
28
29
30
31
32
/**
* 解析二维码图片
*
* @param bitmap 要解析的二维码图片
*/
public final Map<DecodeHintType, Object> HINTS = new EnumMap<>(DecodeHintType.class);
public void decodeQRCode(final Bitmap bitmap) {
new AsyncTask<Void, Void, String>() {
@Override
protected String doInBackground(Void... params) {
try {
int width = bitmap.getWidth();
int height = bitmap.getHeight();
int[] pixels = new int[width * height];
bitmap.getPixels(pixels, 0, width, 0, 0, width, height);
RGBLuminanceSource source = new RGBLuminanceSource(width, height, pixels);
Result result = new MultiFormatReader().decode(new BinaryBitmap(new HybridBinarizer(source)), HINTS);
return result.getText();
} catch (Exception e) {
return null;
}
}
@Override
protected void onPostExecute(String result) {
Log.d("wxl", "result=" + result);
Toast.makeText(MainActivity.this, result, Toast.LENGTH_LONG).show();
}
}.execute();
}

由于时间仓促,抽离的代码可能或多或少有些问题,细节待优化。
另外,ViewfinderView自定义属性参考了http://my.oschina.net/smuswc/blog/609413?fromerr=RgSd7WKf

官方zxing例子学习

如果代码涉及core-3.2.1,就不在研究,有兴趣可自行深入去学习。

扫描二维码

代码调用顺序CaptureActivity —–> CaptureActivityHandler —–> CameraManager —–> PreviewCallback —–> DecodeHandler —–> CaptureActivityHandler —–> CaptureActivity。下面一一分析。

CaptureActivity

CaptureActivity入口类,主要做了Camera,Beep,AmbientLight等初始化。CaptureActivityHandler初始化是在initCamera方法里:

1
2
3
4
5
6
7
private void initCamera(SurfaceHolder surfaceHolder) {
……
// Creating the handler starts the preview, which can also throw a RuntimeException.
if (handler == null) {
handler = new CaptureActivityHandler(this, decodeFormats, decodeHints, characterSet, cameraManager);
……
}

CaptureActivityHandler

CaptureActivityHandler构造方法做了DecodeThread初始化,DecodeThread run方法做了DecodeHandler初始化,然后Camera开始扫码工作。

1
2
3
4
5
6
7
8
9
10
11
12
13
14
15
16
17
18
19
20
21
22
23
24
public CaptureActivityHandler(CaptureActivity activity,
Collection<BarcodeFormat> decodeFormats,
Map<DecodeHintType, ?> baseHints,
String characterSet,
CameraManager cameraManager) {
this.activity = activity;
decodeThread = new DecodeThread(activity, decodeFormats, baseHints, characterSet,
new ViewfinderResultPointCallback(activity.getViewfinderView()));
decodeThread.start();
state = State.SUCCESS;
// Start ourselves capturing previews and decoding.
this.cameraManager = cameraManager;
cameraManager.startPreview();
restartPreviewAndDecode();
}
private void restartPreviewAndDecode() {
if (state == State.SUCCESS) {
state = State.PREVIEW;
//decodeThread.getHandler()拿到DecodeHandler
cameraManager.requestPreviewFrame(decodeThread.getHandler(), R.id.decode);
activity.drawViewfinder();
}
}

CameraManager

1
2
3
4
5
6
7
public synchronized void requestPreviewFrame(Handler handler, int message) {
OpenCamera theCamera = camera;
if (theCamera != null && previewing) {
previewCallback.setHandler(handler, message);
theCamera.getCamera().setOneShotPreviewCallback(previewCallback);
}
}

PreviewCallback

1
2
3
4
5
6
7
8
9
10
11
12
13
14
15
16
17
18
19
void setHandler(Handler previewHandler, int previewMessage) {
this.previewHandler = previewHandler;
this.previewMessage = previewMessage;
}
@Override
public void onPreviewFrame(byte[] data, Camera camera) {
Point cameraResolution = configManager.getCameraResolution();
Handler thePreviewHandler = previewHandler;
if (cameraResolution != null && thePreviewHandler != null) {
//给DecodeHandler发消息
Message message = thePreviewHandler.obtainMessage(previewMessage, cameraResolution.x,
cameraResolution.y, data);
message.sendToTarget();
previewHandler = null;
} else {
Log.d(TAG, "Got preview callback, but no handler or resolution available");
}
}

DecodeHandler

扫码结果,反馈给CaptureActivityHandler

1
2
3
4
5
6
7
8
9
10
11
12
13
14
15
16
17
18
19
20
21
22
23
24
25
26
27
28
29
30
31
32
33
34
35
36
37
38
39
40
41
42
43
44
45
46
47
48
@Override
public void handleMessage(Message message) {
if (!running) {
return;
}
int what = message.what;
if (what == R.id.decode) {
decode((byte[]) message.obj, message.arg1, message.arg2);
} else if (what == R.id.quit) {
running = false;
Looper.myLooper().quit();
}
}
private void decode(byte[] data, int width, int height) {
long start = System.currentTimeMillis();
Result rawResult = null;
PlanarYUVLuminanceSource source = activity.getCameraManager().buildLuminanceSource(data, width, height);
if (source != null) {
BinaryBitmap bitmap = new BinaryBitmap(new HybridBinarizer(source));
try {
rawResult = multiFormatReader.decodeWithState(bitmap);
} catch (ReaderException re) {
// continue
} finally {
multiFormatReader.reset();
}
}
Handler handler = activity.getHandler();//拿到CaptureActivityHandler
if (rawResult != null) {
// Don't log the barcode contents for security.
long end = System.currentTimeMillis();
Log.d(TAG, "Found barcode in " + (end - start) + " ms");
if (handler != null) {
//给CaptureActivityHandler发消息
Message message = Message.obtain(handler, R.id.decode_succeeded, rawResult);
Bundle bundle = new Bundle();
bundleThumbnail(source, bundle);
message.setData(bundle);
message.sendToTarget();
}
} else {
if (handler != null) {
Message message = Message.obtain(handler, R.id.decode_failed);
message.sendToTarget();
}
}
}

CaptureActivityHandler

扫码结果,再反馈给CaptureActivity,这样就走完了扫码过程。

1
2
3
4
5
6
7
8
9
10
11
12
13
14
15
16
17
18
19
20
21
22
@Override
public void handleMessage(Message message) {
int what = message.what;
if (what == R.id.restart_preview) {
restartPreviewAndDecode();
} else if (what == R.id.decode_succeeded) {
state = State.SUCCESS;
Bundle bundle = message.getData();
Bitmap barcode = null;
float scaleFactor = 1.0f;
if (bundle != null) {
byte[] compressedBitmap = bundle.getByteArray(DecodeThread.BARCODE_BITMAP);
if (compressedBitmap != null) {
barcode = BitmapFactory.decodeByteArray(compressedBitmap, 0, compressedBitmap.length, null);
// Mutable copy:
barcode = barcode.copy(Bitmap.Config.ARGB_8888, true);
}
scaleFactor = bundle.getFloat(DecodeThread.BARCODE_SCALED_FACTOR);
}
activity.handleDecode((Result) message.obj, barcode, scaleFactor);
}
}

生成二维码

只需要以下核心代码:

1
2
3
4
5
6
7
8
9
10
11
12
13
14
15
16
17
18
19
20
21
22
23
24
25
26
27
28
29
30
31
32
33
34
35
36
37
38
39
40
41
42
43
public static Bitmap encodeAsBitmap(String contents, int dimension) throws WriterException {
String contentsToEncode = contents;
if (contentsToEncode == null) {
return null;
}
Map<EncodeHintType, Object> hints = null;
String encoding = guessAppropriateEncoding(contentsToEncode);
if (encoding != null) {
hints = new EnumMap<>(EncodeHintType.class);
hints.put(EncodeHintType.CHARACTER_SET, encoding);
}
BitMatrix result;
try {
result = new MultiFormatWriter().encode(contentsToEncode, BarcodeFormat.QR_CODE, dimension, dimension, hints);
} catch (IllegalArgumentException iae) {
// Unsupported format
return null;
}
int width = result.getWidth();
int height = result.getHeight();
int[] pixels = new int[width * height];
for (int y = 0; y < height; y++) {
int offset = y * width;
for (int x = 0; x < width; x++) {
pixels[offset + x] = result.get(x, y) ? BLACK : WHITE;
}
}
Bitmap bitmap = Bitmap.createBitmap(width, height, Bitmap.Config.ARGB_8888);
bitmap.setPixels(pixels, 0, width, 0, 0, width, height);
return bitmap;
}
private static String guessAppropriateEncoding(CharSequence contents) {
// Very crude at the moment
for (int i = 0; i < contents.length(); i++) {
if (contents.charAt(i) > 0xFF) {
return "UTF-8";
}
}
return null;
}

源码

官方的例子和我自己的抽离出的代码都上传github了,地址:https://github.com/WuXiaolong/zxingSample


联系作者

我的微信公众号:吴小龙同学,欢迎关注交流,公号回复关键字「1024」有惊喜哦。